If you’re looking for creative ways to upcycle old furniture into a cozy DIY dog bed, look no further. We’re thrilled to feature Jack from Jack’s Flipping Furniture, who has mastered the art of transforming discarded TV stands, dressers, and hutches into one-of-a-kind canine retreats. With his custom design expertise, Jack can help you bring your vision to life. In this article, we’ll showcase his incredible creations, which are truly masterpieces in their own right.
The Story Behind These Adorable Dog Beds
Before diving into the creative designs, let me share Jack’s story that sets the foundation for his passion project. A self-proclaimed artistic person with a flair for building, Jack’s earliest memories of creativity date back to childhood drawings and ceramics in high school. His entrepreneurial spirit was sparked when he helped his dad build a house from scratch at age 11.
As he grew older, Jack’s creative pursuits evolved, including managing his family’s busy tie-dye clothing company, where he honed his skills in blowing glass. The experience of mapping the global reach of their products over seven years instilled a sense of pride and accomplishment. Fast-forward to today, and Jack has been refining, repurposing, and upcycling furniture for about two years, actively pursuing it as a business venture for nearly a year under the name Jack’s Flipping Furniture.
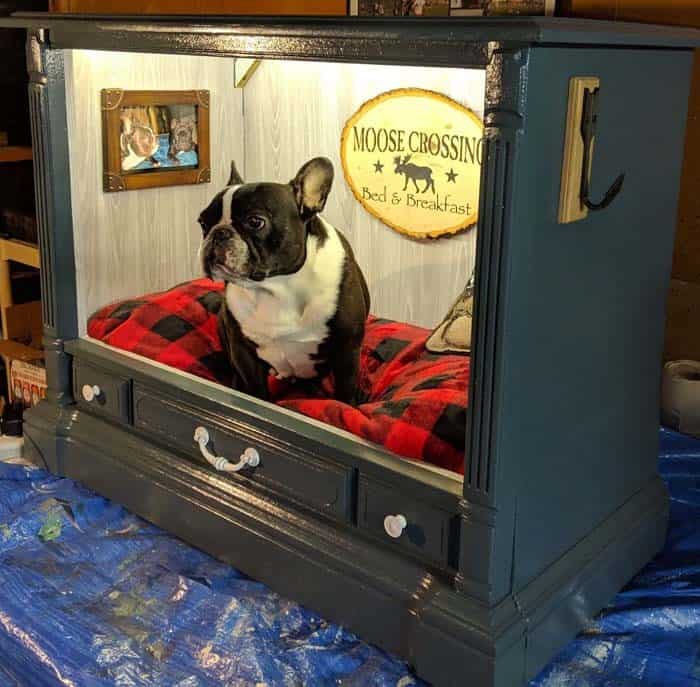
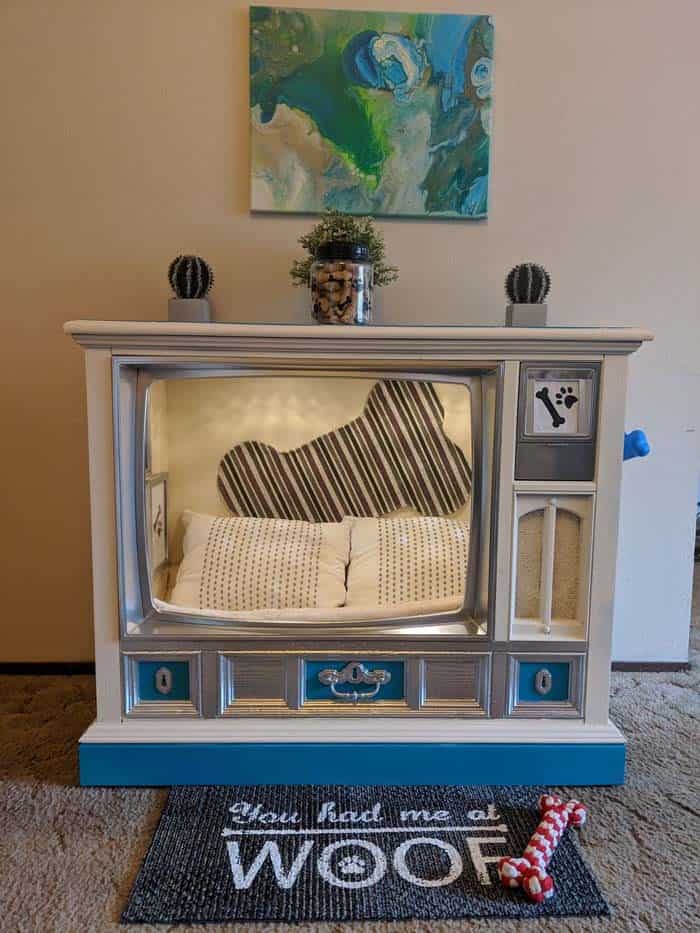
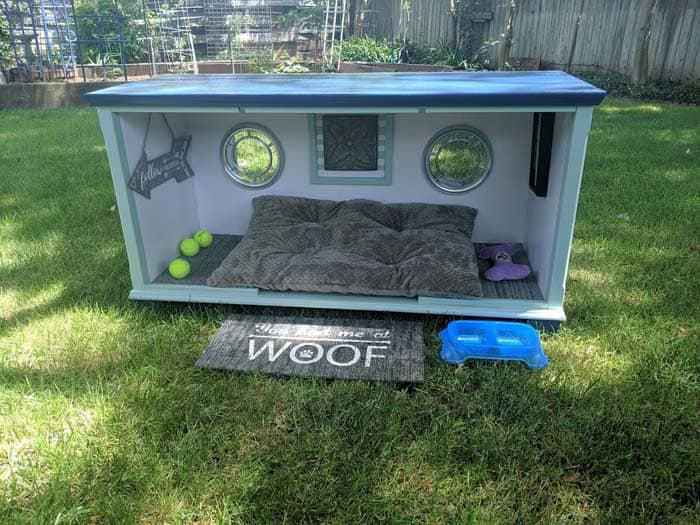
The journey hasn’t been without its challenges – a mix of trial and error, mistakes, frustration, joy, passion, and YouTube tutorials. A serendipitous encounter with an online photo of a dog bed crafted from an old TV console, shared by his best friend Austin, sparked the inspiration for Jack’s first project. The resulting masterpiece, designed for Noble (aka Moose), the French Bulldog, earned significant attention on social media and DIY groups.
This early success paved the way for custom orders and a consistent stream of business. Around three months ago, Jack seized an opportunity to grow his business and deepen his understanding of paint by leaving his job at Sacramento’s busiest catering company to join PPG Paint Company. The intensive training has not only made him a paint expert but also introduced him to new aspects of the industry that he had previously been unaware of.
How To DIY a Dog Bed
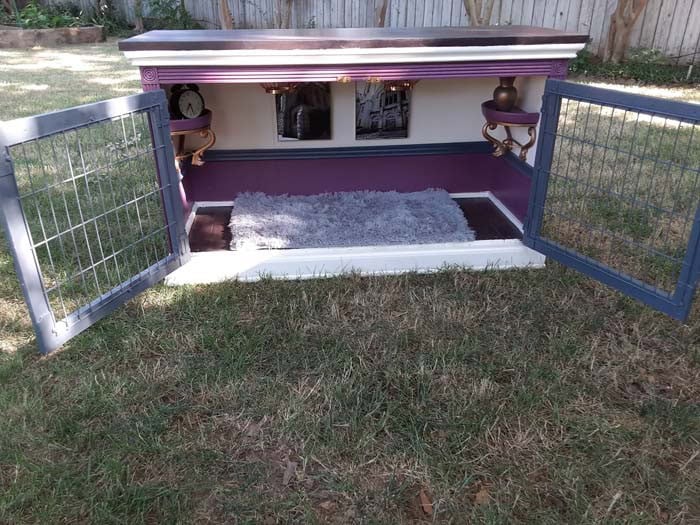
As I create each piece, I encounter unique obstacles, regardless of whether I’m on the hunt for a vintage television console or searching for a statement piece like a dresser or hutch that can accommodate larger dog breeds. The journey is filled with exciting discoveries and creative problem-solving, keeping me engaged and motivated throughout.
Dismantling
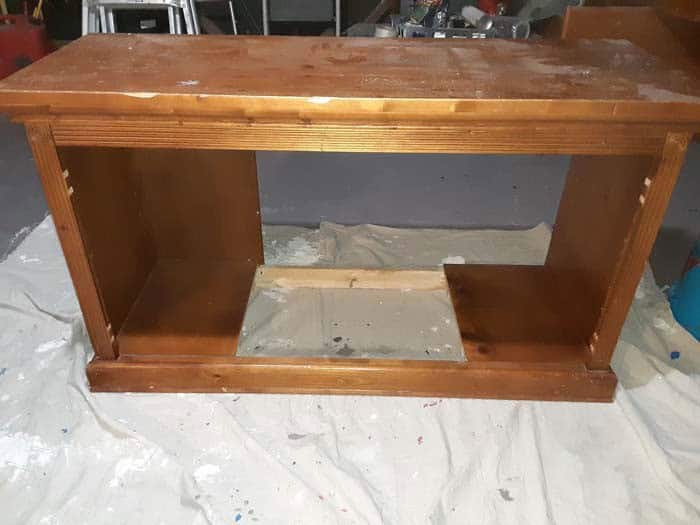
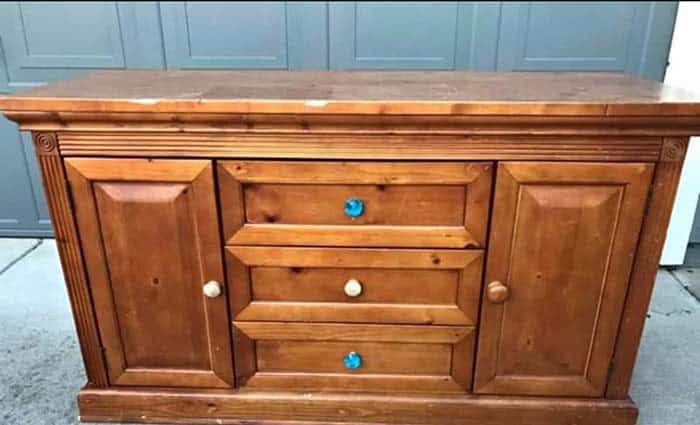
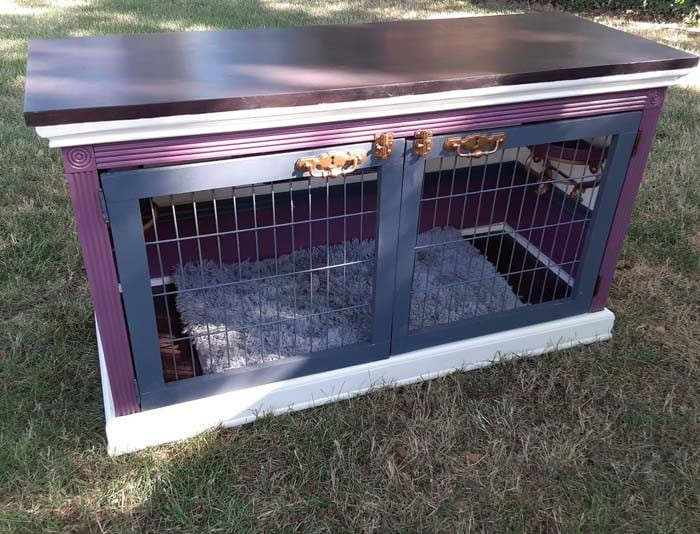
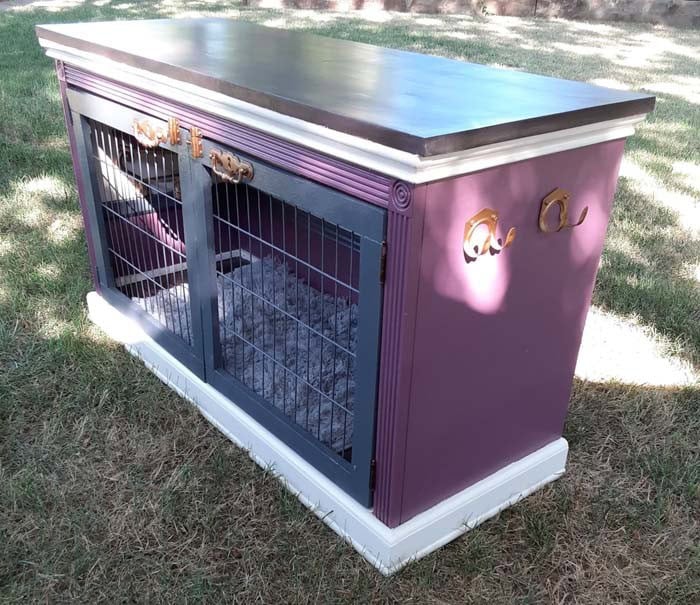
When it comes to TVs, the first step is to disconnect and safely store or recycle all electrical components. This includes cables, remote controls, and any other accessories that may be attached. Once you’ve cleared the area of any electronic items, proceed with disassembling any furniture pieces, such as dressers or microwave stands, by removing all hardware, including screws, handles, and knobs.
Additionally, consider taking out any extraneous shelving or drawers from dressers to repurpose them for future projects.
Sanding & Priming
Next, I employ a gentle touch to smooth out any rough edges on the surface, followed by a thorough cleaning using a tack cloth to remove any dust or debris. This prepares the material for a coat of primer, which I apply to ensure a strong foundation for the subsequent finishing processes.
Painting
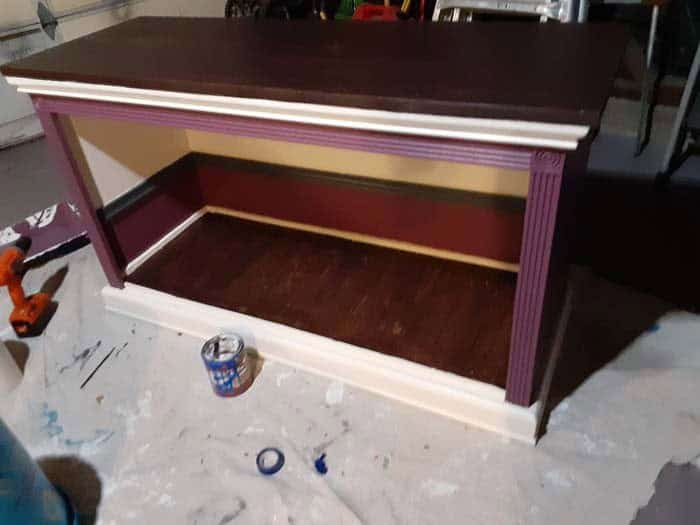
When embarking on a new painting project, I typically begin by envisioning the final result and identifying a guiding theme. This inspiration often stems from a captivating hue that catches my eye or a decorative item that sparks an idea. That distinctive color becomes either the foundation of the piece or the accentuating trim. To bring my vision to life, I start by applying the base coat, followed by carefully taping off the area to add the trim color, allowing for crisp and precise edges.
Decorating
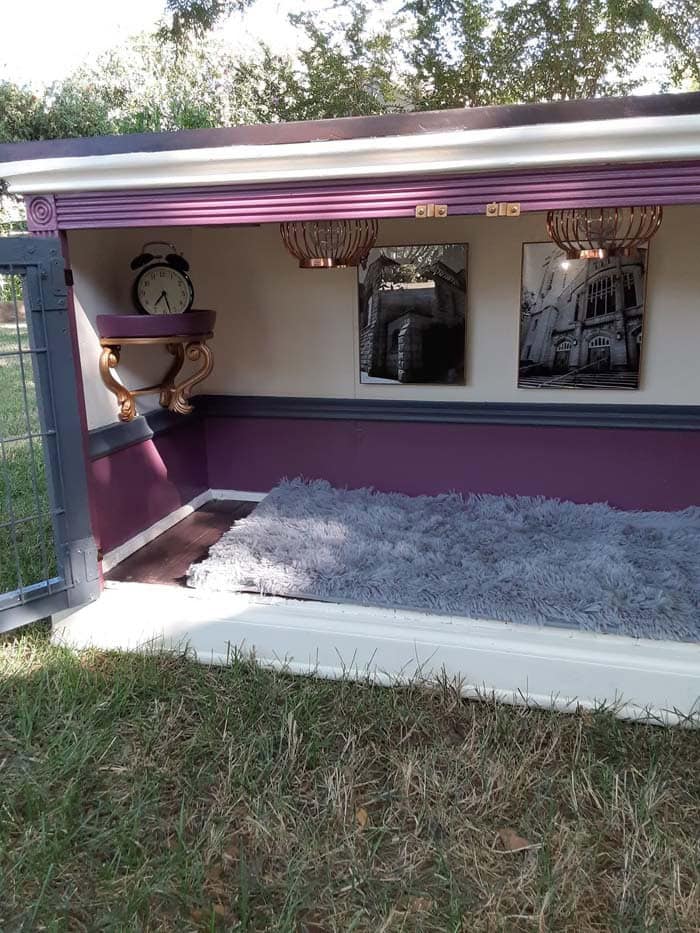
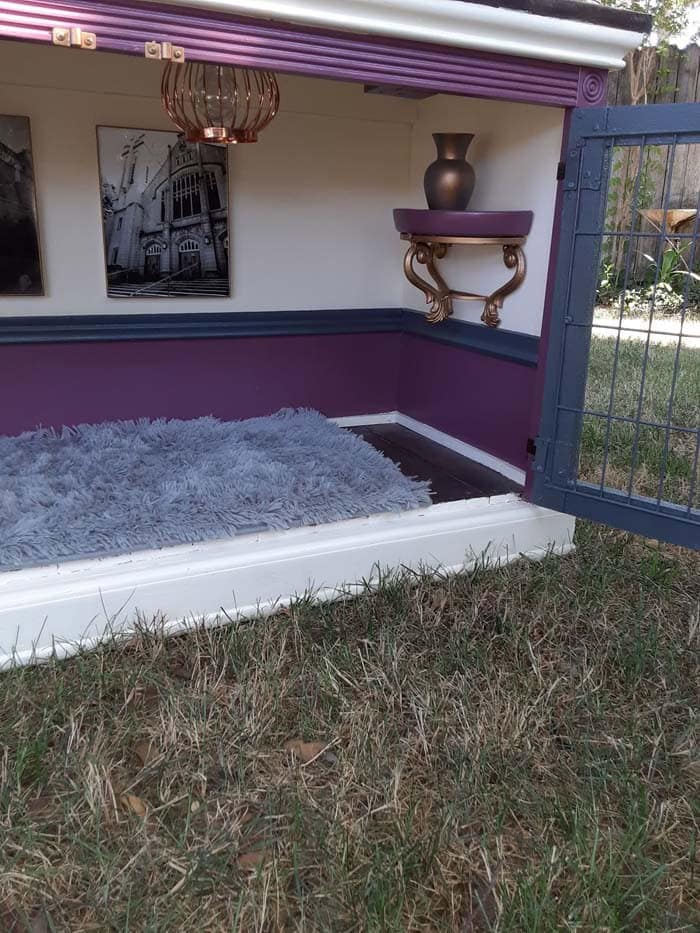
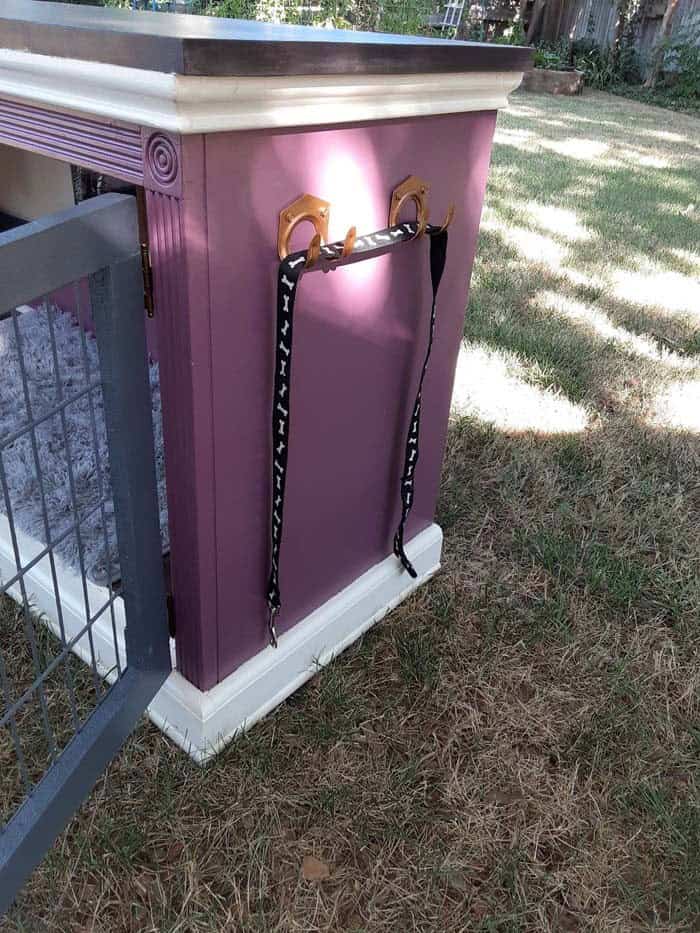
As I wrap up the painting process, my focus shifts to bringing the interior design elements together, staying true to the color palette or theme that I’ve established. To stay within budget, I opt for a thrifty approach when it comes to adding decorative touches, usually choosing items that can be easily secured with adhesive.
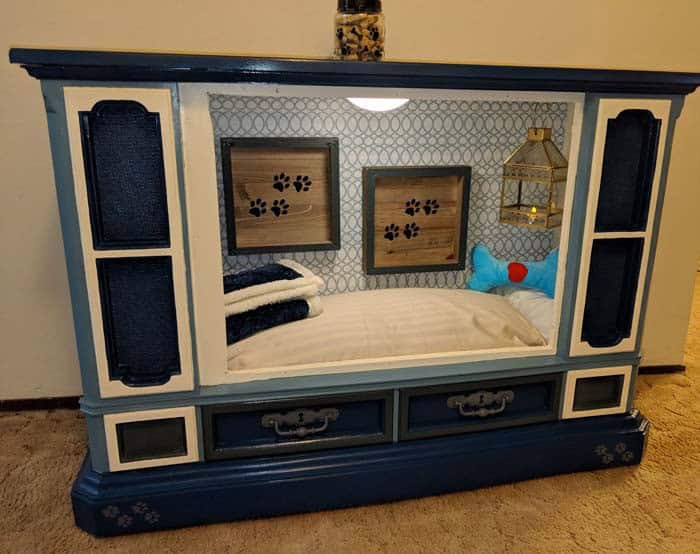
Next, I turn my attention to the walls themselves, deciding whether to paint them a bold new color, install wallpaper with a unique design, or incorporate natural textures like stained pallet boards or wood siding. The goal is to create a cohesive look that ties everything together and reflects my personal style.
Final Touch
When it comes to selecting flooring for my projects, I tend to opt for a combination of hardwood, carpet, and tile. The carpet I typically choose is not only visually appealing but also features stain-resistant and pet-proof qualities. Once the flooring is installed and painted to match the desired décor, I move on to installing lighting fixtures before applying a clear coat to any areas that require it.
What to consider?
As I continue creating, my objective remains the same: crafting each piece with distinct character and originality. This fusion of craftsmanship and creativity allows me to grow as an artist while sharing inspiration with others. The overwhelming positivity and encouragement from everyone has been truly heartwarming, and it’s wonderful to hear that my work has motivated someone to start a new project or helped them overcome a creative hurdle.
If I were to offer one piece of advice to aspiring DIY enthusiasts, it would be: don’t be hesitant to seek guidance on the fundamentals. Whether you’re unsure about which brush to use with various stains, paints, or clear coats, or need clarification on proper sanding techniques, asking these questions upfront will save you time, energy, and resources in the long run.
Additionally, I find immense value in online communities like Thrifty Chicks Upcycling Ideas, where a supportive network of individuals comes together to share knowledge, collaborate, and offer guidance without fear of judgment. Ultimately, my message is simple: everyone is creative and artistic in their own way – all it takes is the willingness to try.
Tools and Supplies Needed
When it comes to tackling a woodworking or home renovation project, having the right tools and materials is essential. Here are some of the key items you’ll need to get started: cordless drills for precision and efficiency, wood glue for bonding materials together, and wood screws for assembling your design. Primer and paint will help you achieve the perfect finish, while tack rags and power sanders will smooth out any rough edges.
For more detailed work, consider using sandpaper in grades 80, 150, or 220 grit to get the desired texture. When it comes to painting, you’ll want a range of brushes at your disposal, including 1 ½ angle sash, 3 inch varnish brush, and 4 inch flat sash. Circular saws will also come in handy for making precise cuts. For applying finish coats, don’t forget the importance of a good paint tray, as well as painters tape to create sharp lines.
If you’re working with wallpaper or pallet boards, be sure to have some on hand. Wood stain and polyurethane clear coat can add a professional touch to your project. To protect your workspace from messes and spills, consider laying down a drop cloth. Finally, verlco strips and cute décor can help bring everything together for a polished finish. Lighting fixtures will also be an important consideration as you complete your project.
More DIY Dog Bed Designs


I’ll never forget painting my very first dog house, which became a treasured piece that holds sentimental value. What stands out is the framed fire hydrant, which adds a charming touch. This custom order was for the Oars Senior Living Community’s community room, where residents can socialize with their pets. It’s another example of my DIY dog bed designs, each with its unique character.
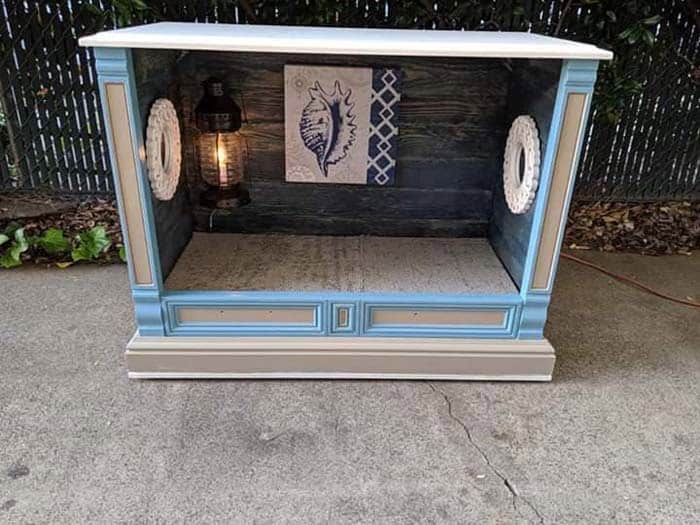
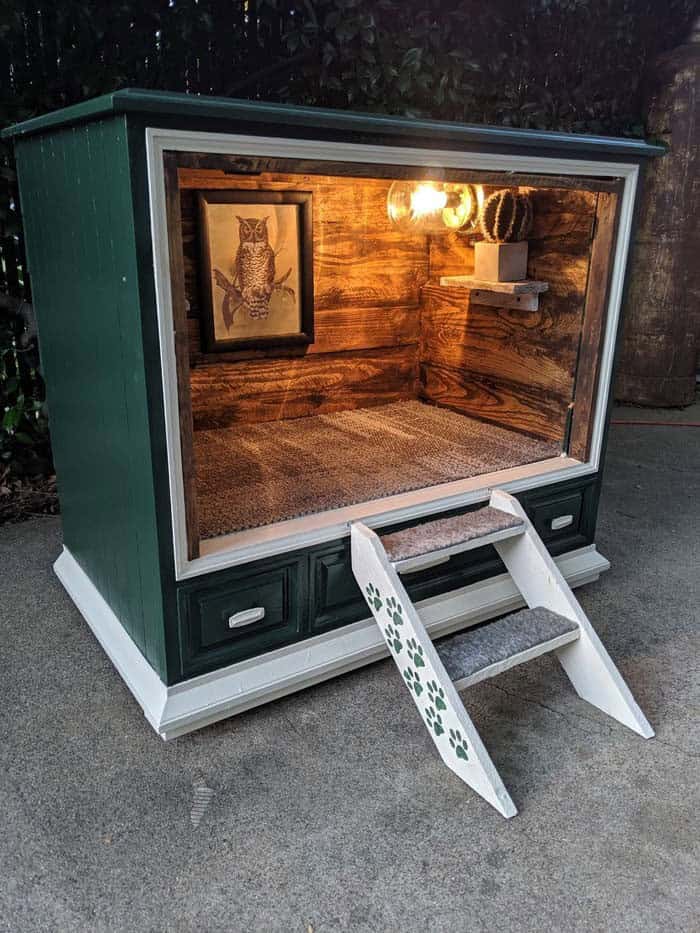
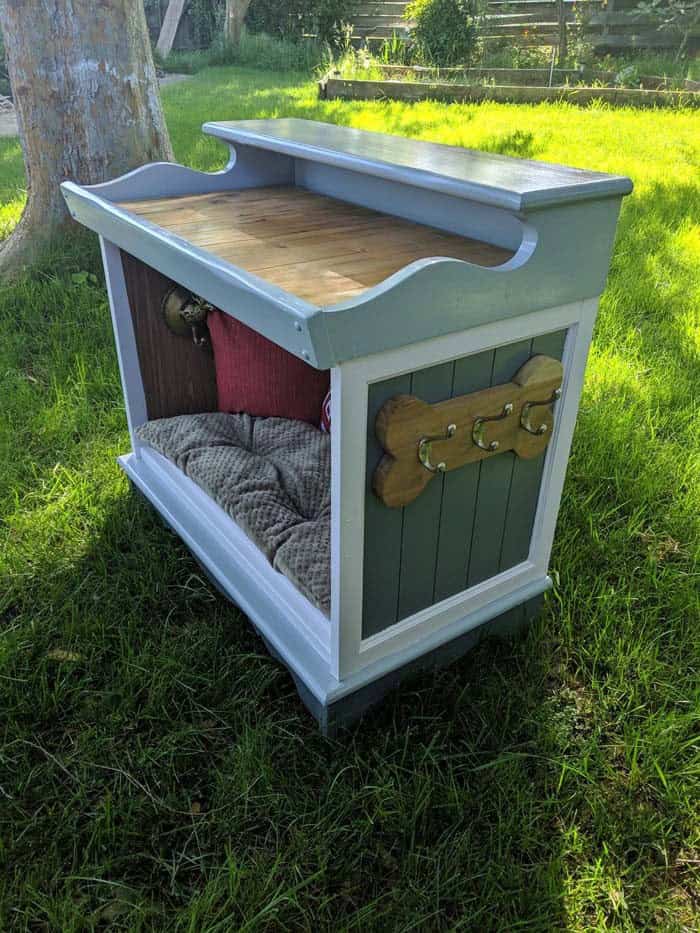
One piece that resonates with me is the beach house-themed design I created around a beautiful sea shell in the center. This custom-made dog bed was donated to an Aids Lifecycle Ride fundraiser and auction, which successfully raised $450 for a great cause. When it comes to country rustic feels, I drew inspiration from hunter green as my base color. Another notable project is the custom order for two dogs, which evolved into a hutch top featuring storage space for their wardrobe.
Each of these designs has its own distinct personality, reflecting the owners’ personalities and preferences.