Photo Credit: pinterest
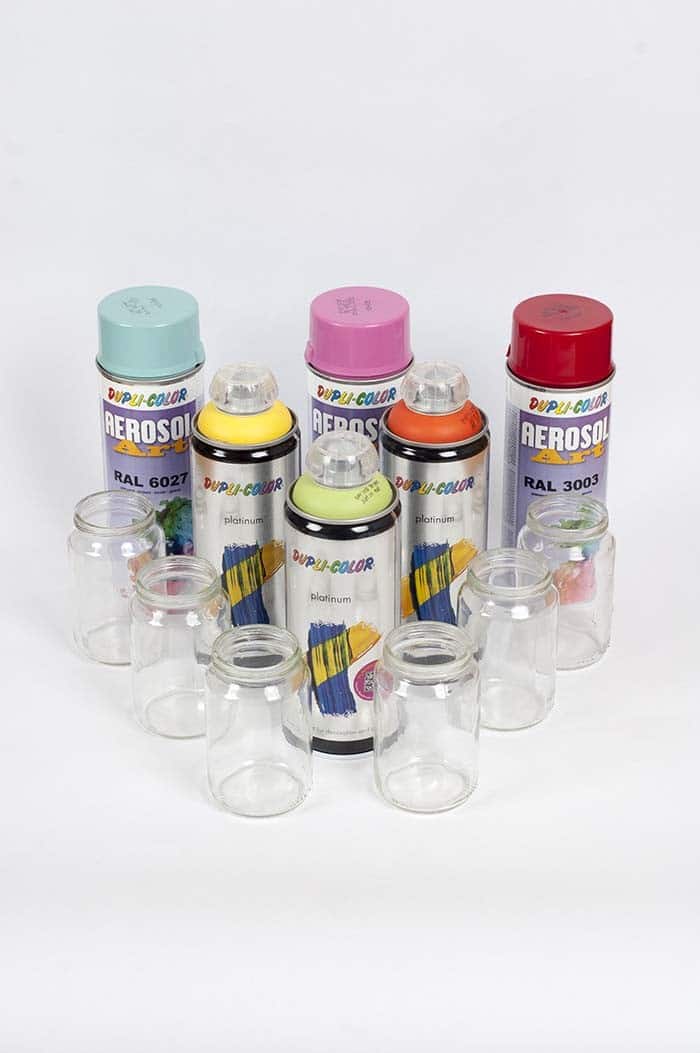
After months of admiring spring-inspired centerpieces on Pinterest, I finally decided to create my own unique piece. I wasn’t expecting to unleash my inner artist, but a leftover paint stash from my Valentine’s Day Mason Jars project and some new baby pastel colors had me feeling adventurous. I opted for six distinct hues, which would later become the foundation for creating the word ‘SPRING’ in all its colorful glory.
Initially, I thought adding lights to the jars would be a great touch, but ultimately, they didn’t quite fit the final design.
Step-by-step tutorial:
Materials needed:
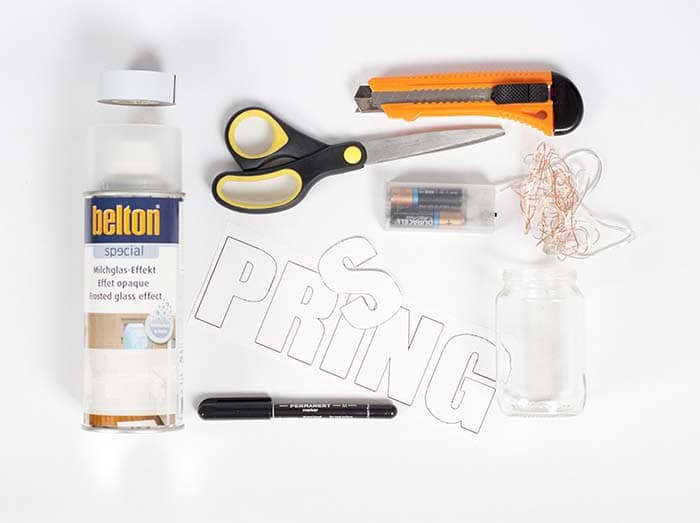
To create a customized jar display, you’ll need to gather a few essential supplies. Start by selecting your preferred color of spray paint, ideally in bright pastel hues. You can choose from six different colors or opt for a unique shade that suits your personal style. Next, prepare a custom letters template and print it out. This will allow you to add personalized details to your display. For the jars themselves, ensure they have a matte finish by applying a matte spray.
If the original finish is glossy, this step is crucial in achieving the desired frosted effect. Choose mini glass jars or any other type of jar that suits your aesthetic, and make sure they’re ready for use. To secure the letters to the jars, you’ll need a reliable adhesive like tape – I recommend using electrical tape for added stability. LED string lights with batteries are optional but can add an extra layer of ambiance to your display.
For more precise cutting and handling small pieces, consider bringing along a permanent marker, box cutter knife (or a sharp kitchen knife), and scissors. These tools will help you navigate any tricky steps during the DIY process.
Step 1:
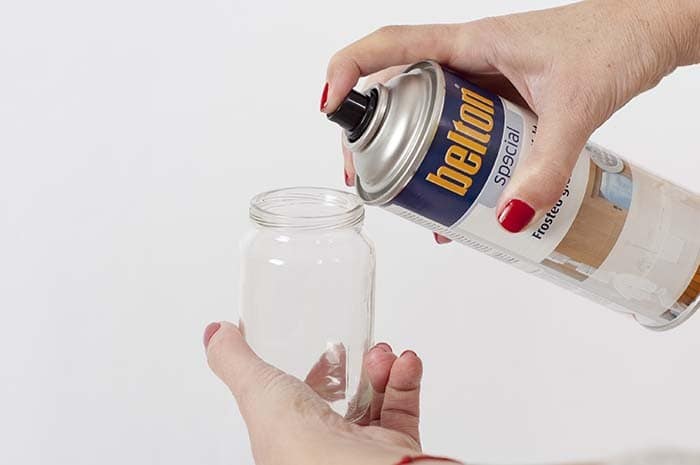
To achieve a smooth matte finish on the inside of your spray paint jars, allow the matte spray to dry completely. It may take some practice to get the hang of it, but don’t worry too much about achieving perfection at this stage, as most of the jar will be painted over later in the project.
Step 2:
Step 3:
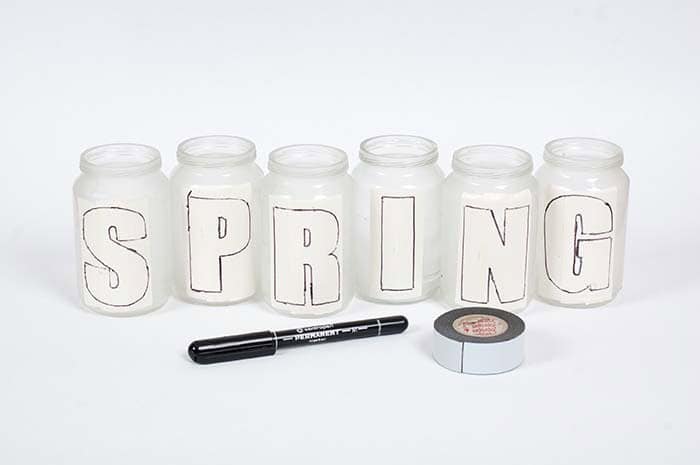
To secure the letter firmly to each jar, apply a few strips of tape vertically, ensuring the patch is fully adhered. It’s crucial that the bond is tight, as any gaps could allow paint to seep in and require subsequent cleaning. With one hand holding the letter upright and centered, use your other hand to guide a marker along its contour, carefully tracing the outline.
Step 4:
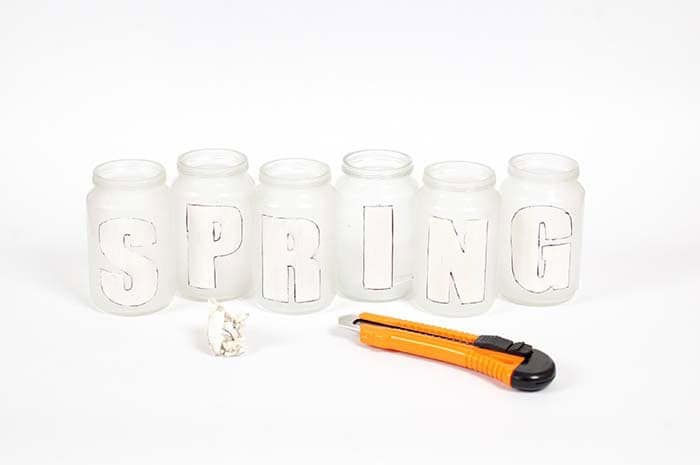
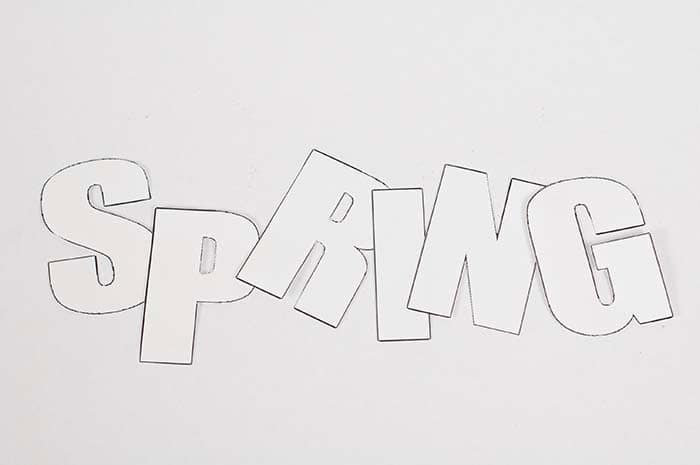
To expertly cut the letter along its contour, employ a box cutter knife with precision and attention. It’s crucial to exercise caution to avoid ruining your meticulously crafted letter pattern or worse, sustaining injuries to your fingers. Once all letters are carefully excised along their contours, gently peel away the surrounding patch, leaving you poised for the creative phase – painting!
Step 5:
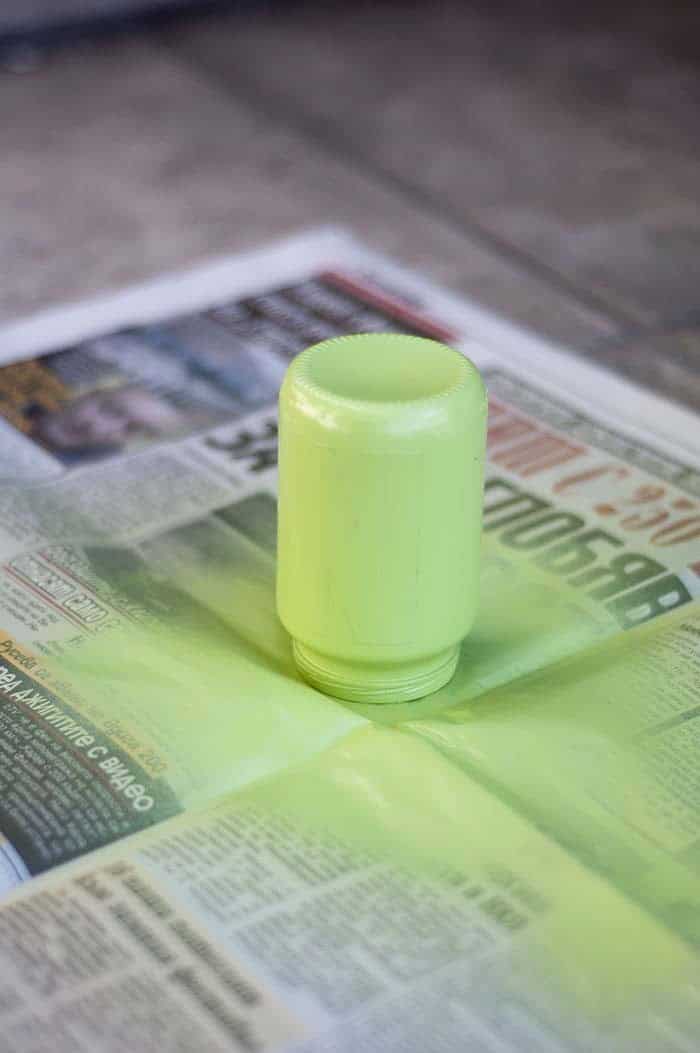
To ensure a tidy workspace, place the jar on top of a newspaper or other protective surface to prevent any accidental paint spills from damaging surrounding surfaces. As the spray can tend to glide, it’s helpful to practice your technique by applying light pressure to a piece of wood or similar object before moving on to the actual painting process.
Once you’ve completed painting the jar, allow it to dry completely (a minimum of 24 hours) before considering a second coat.
When working with the black permanent marker, be cautious not to let it come into contact with the chemicals in the paint, as this can cause it to start bleeding onto the previously painted surface.
To prevent this from happening, take the time to carefully cut along the contour of the heart’s edge using a knife, working from the inside out. This will ensure that any excess marker is contained and doesn’t seep onto the tape.
Step 6:
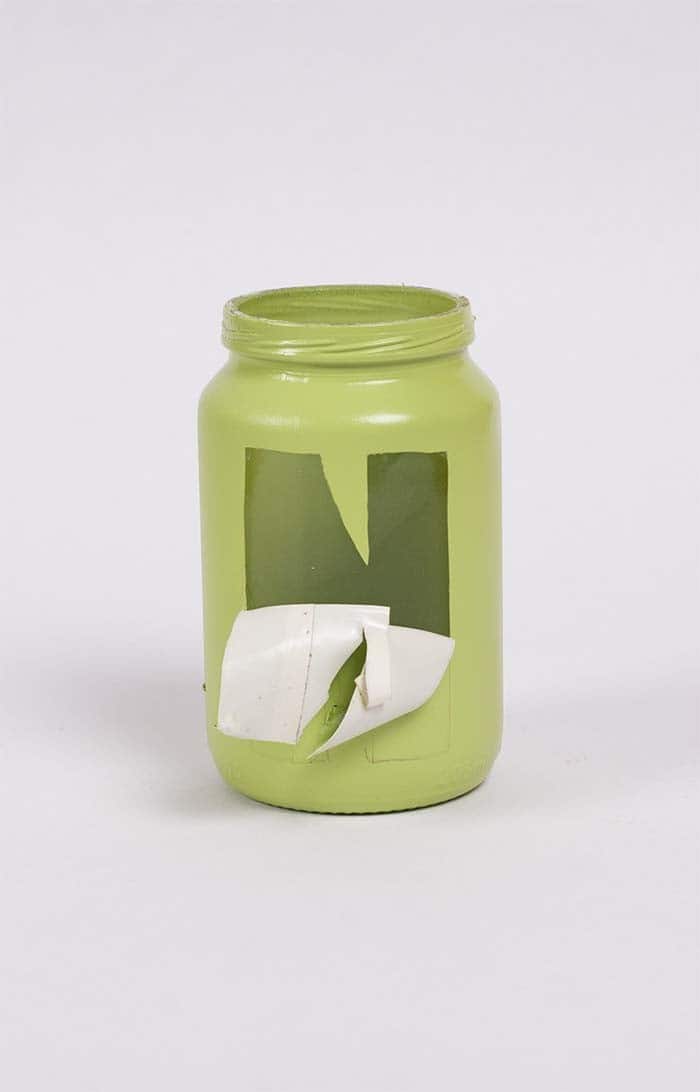
Following the completion of the painting process, carefully remove the adhesive backing from the stencil, allowing the intricate design and outline of the letter to remain.
Step 7:
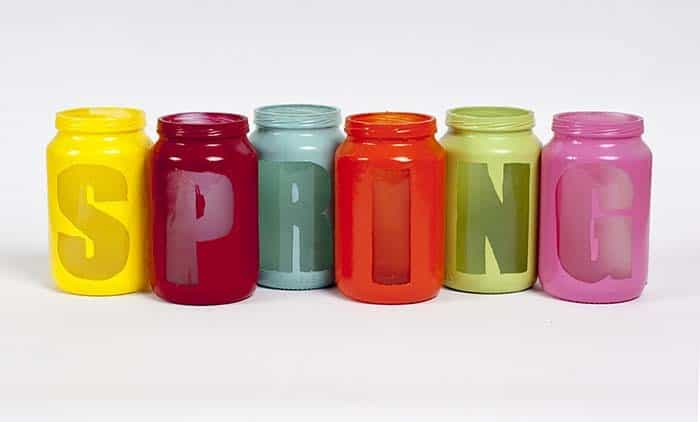
With the six jars now available, it’s time to add a personal touch by decorating them with flowers. The jars are already beautifully painted with letters, making them ideal canvases for your floral creations.
Step 8:
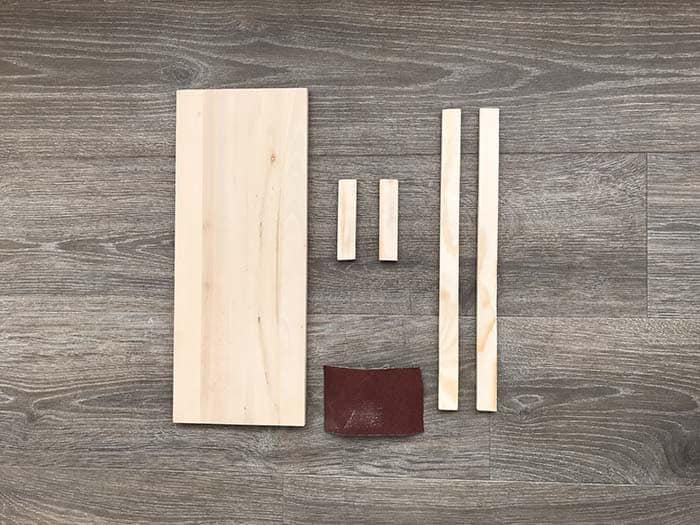
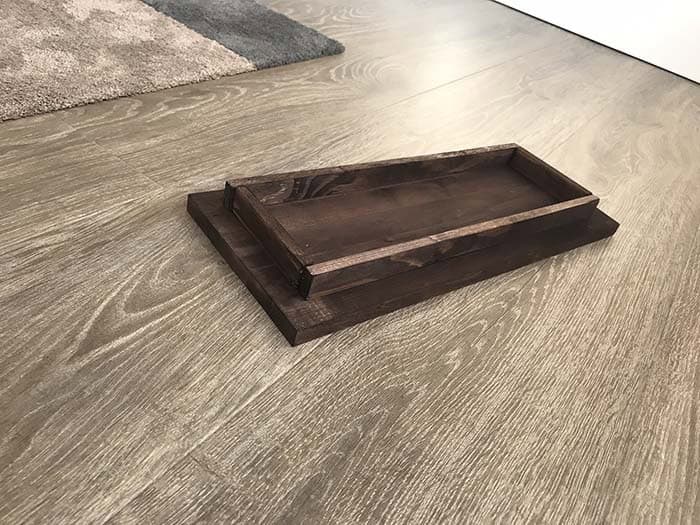
While you can opt for a store-bought wooden tray, creating one from scratch can be a fun and rewarding DIY project. The process is surprisingly straightforward: simply measure and cut the wood to the desired dimensions, apply a finish of your choice to enhance its appearance, and then assemble all the pieces together using a suitable adhesive. I decided to take on this challenge myself and am pleased to share my handcrafted wooden tray with you.
Step 9:
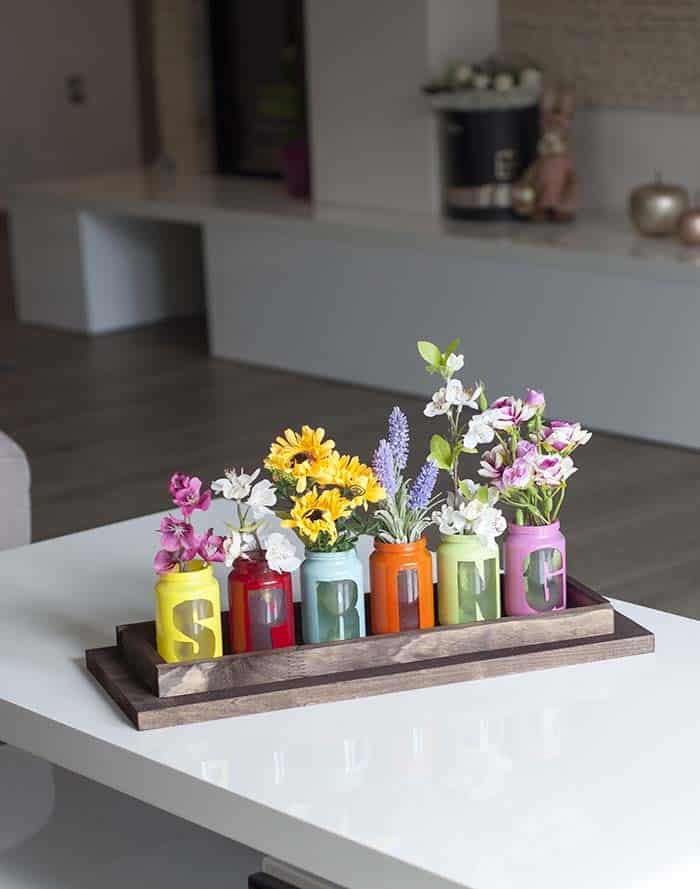
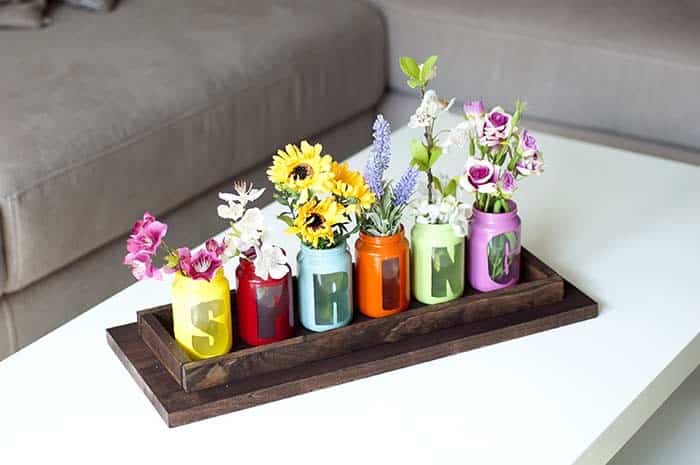

Transform your space with a touch of elegance by adorning your centerpiece with an arrangement of real or artificial blooms. If you’re feeling festive, why not opt for fresh spring flowers in vibrant hues? Alternatively, faux flowers can also add a charming whimsical touch to your design.
…
And there you have it – the perfect finishing touch to your decorative masterpiece! For more creative inspiration, be sure to check out our collection of Spring Centerpieces Ideas.