Photo Credit: youtube
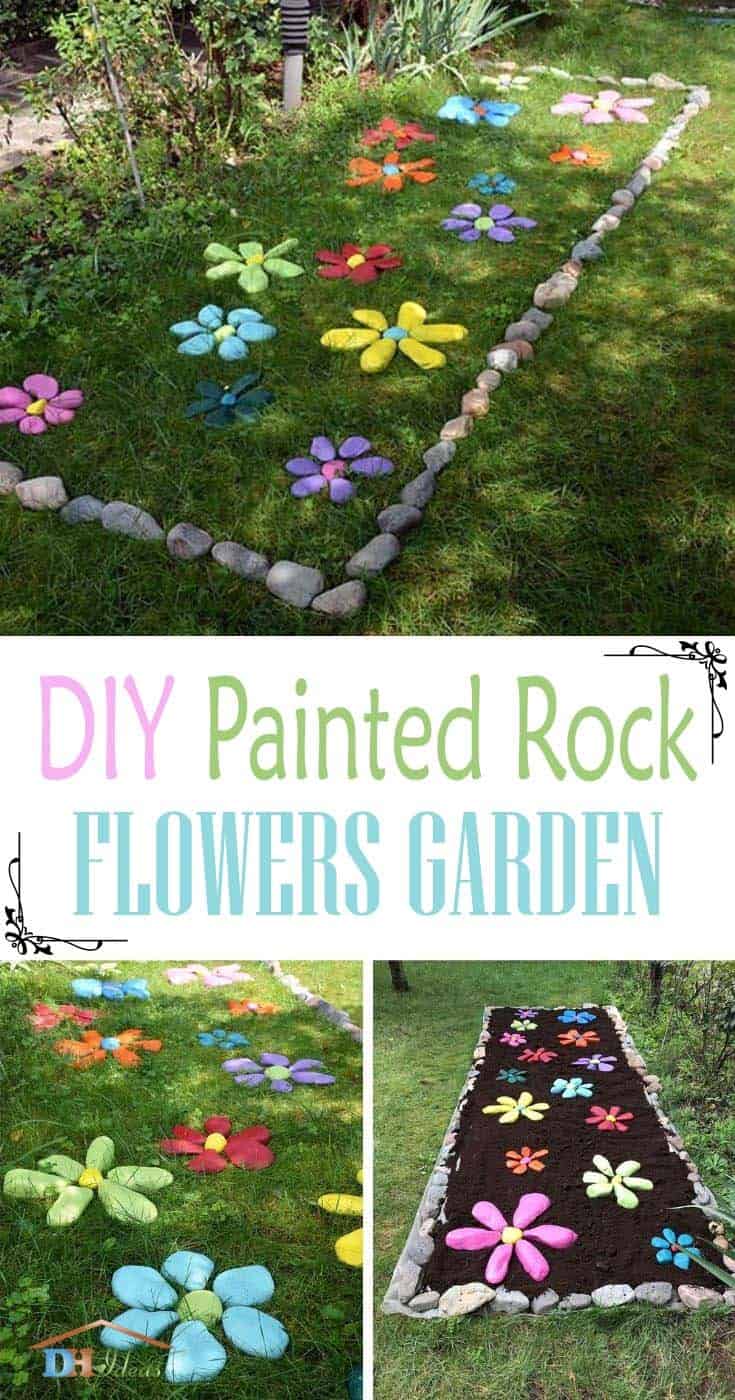
If your yard or garden is looking lackluster, there’s no need to worry. With DIY painted rock flowers, you can easily add a pop of color and vibrancy to any outdoor space. This fun and fast project is perfect for tackling challenging soil or winter conditions, as it requires minimal maintenance once complete. The best part? You don’t have to worry about watering or weathering the elements.
I was able to whip up this easy DIY project in just an afternoon using supplies I already had on hand.
To get started, you’ll need a few cans of spray paint (or craft paint) and some rocks. The beauty of this project lies in its simplicity – even those who aren’t artistic can achieve stunning results by applying a single layer of paint.
What’s more, this activity is perfect for involving the whole family. Grab your little ones and spend a fun afternoon gathering, painting, and arranging the rocks together.
Supplies:
When it comes to creating a rock flower garden, the right rocks are essential. For the flowers themselves, smooth river rocks with rounded edges work best. You can also use any type of rock you find if you don’t live near a body of water. Each flower requires one center stone and six petal stones. The center stone is relatively small and can be round, square, or irregular in shape. Look for longer, bigger stones to serve as the petals, and aim for similar lengths and shapes for each set of six.
While it’s ideal to find rocks that resemble flower petals, don’t worry if you can’t – the varied textures and shapes will still add charm once arranged into a flower. For creating borders around your painted rock flowers, collect smaller rocks that complement the colors and sizes used in the flowers. You can opt for uniformity or go for a more eclectic look by collecting any beautiful stones you find. Just be sure to choose border rocks that are smaller than those used for the flowers.
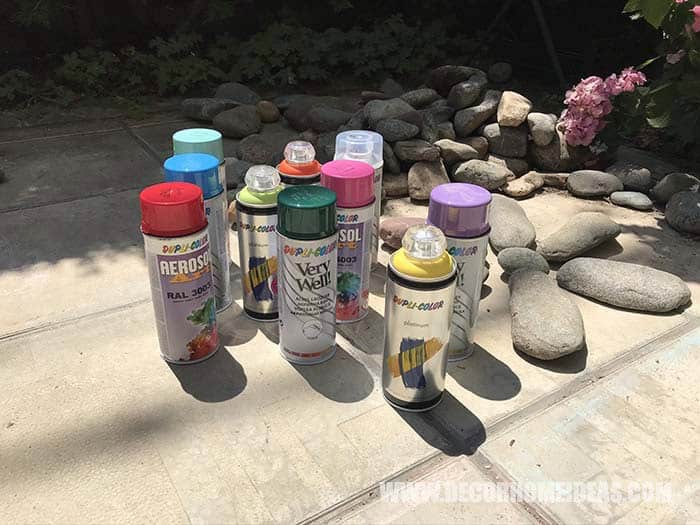
To add color and fun to your project, gather acrylic spray paint in various hues – the more colors you have, the more creative you can be. If you prefer using craft paint, go ahead, but don’t forget to apply a sealing spray. Most retailers carry budget-friendly options like dollar stores, hardware stores, and home-goods stores. Finally, protect your handiwork with clear sealing spray to ensure it remains vibrant and resilient in the face of sun, wind, and rain.
While not essential, this step will give you peace of mind knowing your rock flowers are well-protected.
Choose a Construction Option for Your Rock Flower Garden
Lay the painted rocks directly on top of your grass
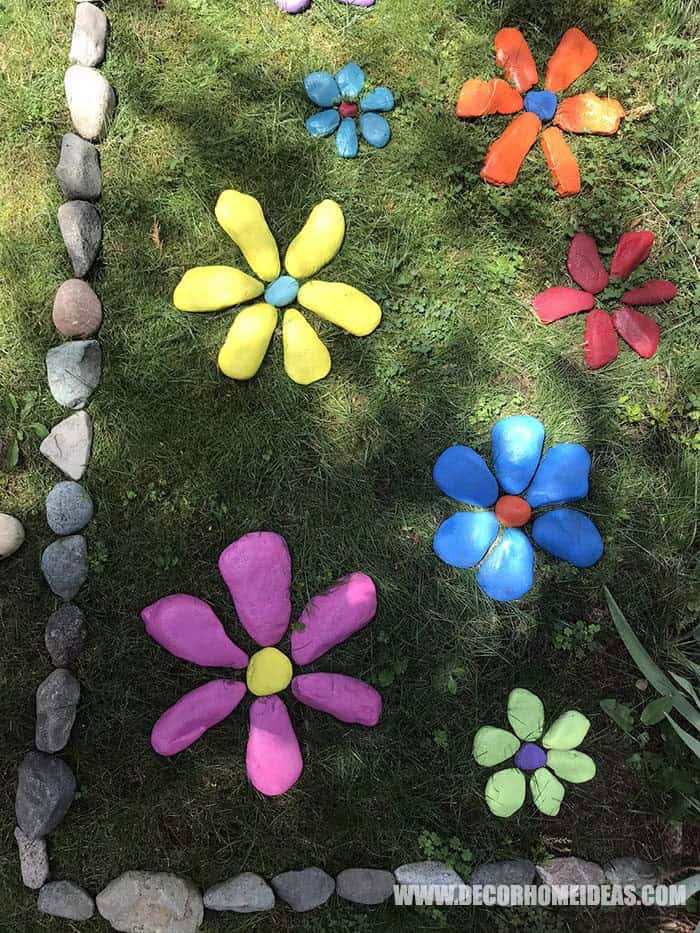
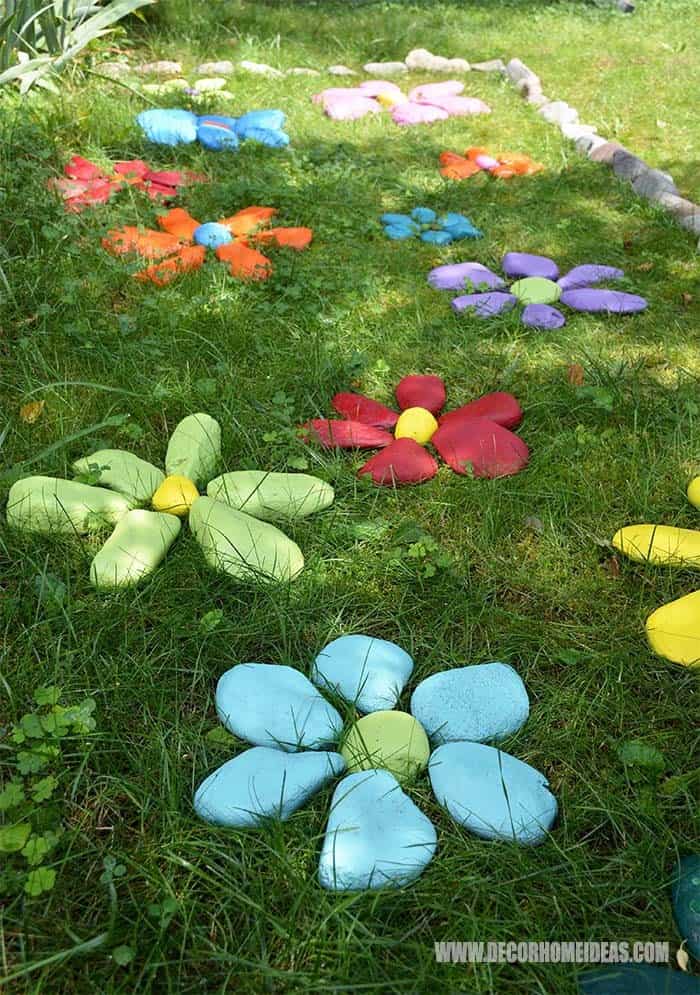
To create a visually appealing rock garden, you don’t necessarily need a specific plan or design. Simply arrange the stones in any area of your lawn, and you’ll instantly add color and curb appeal. One of the biggest advantages of this approach is its ease of setup – it’s a quick and effortless way to bring some visual interest to your outdoor space. I particularly enjoy how the rocks contrast with the lush green grass, creating a beautiful and harmonious combination.
While this method has many benefits, there are also some drawbacks to consider. Over time, the surrounding grass may grow and conceal the stones, reducing their visual impact. Additionally, if you need to mow your lawn, you’ll need to remove the rocks first and then replant them afterwards. This process can be time-consuming and may require some extra effort, but the end result is well worth it.
Lay the painted rocks on a prepared garden bed
To create a low-fuss arrangement, place your painted rock flowers on a base of pebbles, mulch, or soil. This approach effectively prevents unwanted grass growth.
The advantages of this method are twofold: you won’t need to regularly remove and replace the rocks when mowing the lawn, and the rock flower garden itself requires zero maintenance.
However, this option comes with some drawbacks.
It demands more time and financial investment upfront, as you’ll need to acquire the pebbles or mulch and spend time preparing the bed.
How To Arrange the Rock Flowers in a Garden
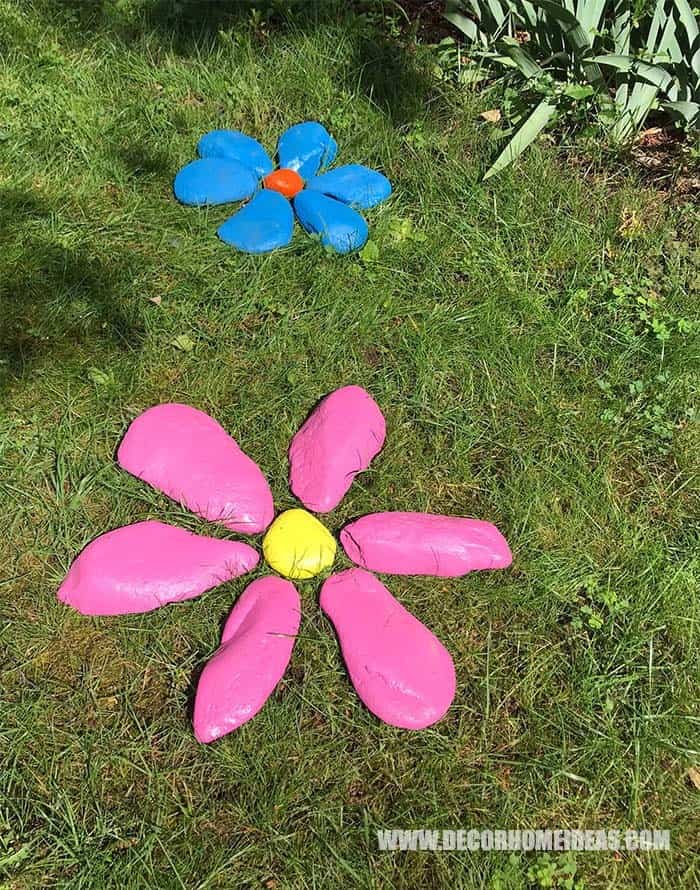
What sets this painted rock flower garden apart is its incredible versatility. The design is entirely up to your creative whim! You might opt for flowers with a single color at the center and another hue for the petals, creating a beautiful contrast. Alternatively, you could go for rainbow-colored blooms with a kaleidoscope of petals.
If you’re bringing the kids along for the fun, this is an excellent opportunity to let their imagination run wild and create a truly one-of-a-kind rock garden that reflects their unique personality.
How To Make Painted Rocks into Flowers

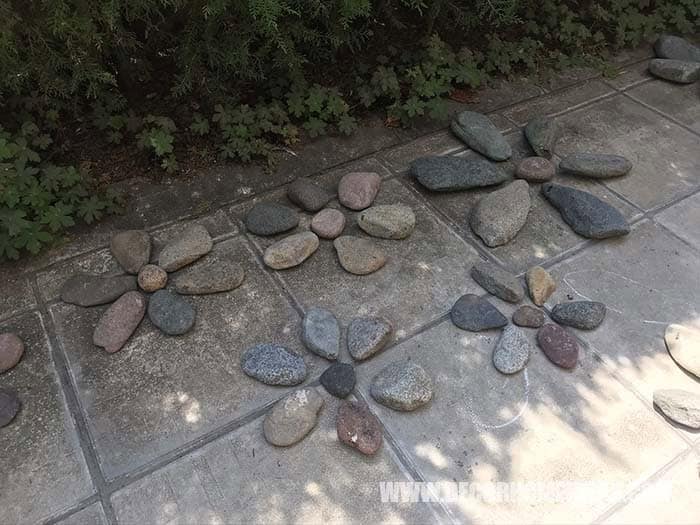

To start creating your flower-inspired rock paintings, first decide on the number of flowers you want to bring to life. For each one, gather 6 petal stones and 1 center stone. As you collect rocks, group your petal stones by size and shape to make it easier to remember which stones belong together during the painting process. If you’re unsure which stones to choose, try arranging them into a flower shape until you find the perfect collection.
Once you have all your stones, arrange them in your driveway or yard. This step may take some time, but it will pay off when you start painting. With your flowers laid out, you’ll know exactly which stones to paint in each color. For an added creative boost, try sketching your painted rock flowers with colored pencils. This will help you pick the perfect colors and serve as a reference when it’s time to paint. If you need some visual inspiration, refer to my sample color chart below.
Next, prepare for painting by gathering all your spray paint colors and setting them up in a well-ventilated outdoor space. Remember to choose a spot away from your house and car, as spray paint can spread quickly. Protect the ground or cement with a large piece of plywood or cardboard, keeping in mind that wet paint may stick to these materials. To start painting, pick a color and find all the stones for that hue.
Arrange them on your wood or cardboard pad, noting which rocks belong to each flower if you’re using stones from different blooms. Before spraying, follow the package instructions and shake the can well. Hold the can about 20-40 cm from the rock and start spraying, aiming for an even layer of paint. Don’t worry about saturation – as long as the color covers the stone, it will look beautiful. After painting one side, let the rocks dry completely before flipping them over to paint the other side.
The drying time usually takes around 30 minutes, but may be shorter in hot weather. Once the second side is dry, lift the rocks carefully and place them on a piece of newspaper, moving on to your next color. Repeat this process until all your rocks are painted, then allow them to dry. Finally, once the painted rocks are dry, you can arrange them in your garden or leave them on newspaper pages waiting to be arranged.
Option 1: Preparing the Ground for a Painted Rock Flower Garden on the Grass
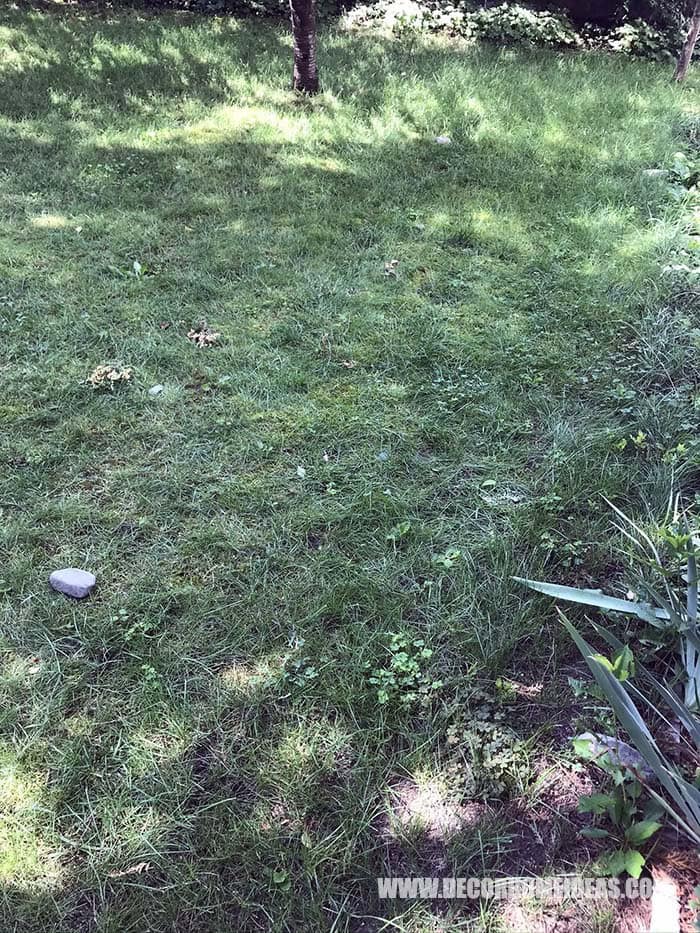
As you await the drying process for your painted rocks, take the opportunity to prepare the ground for your garden. Start by selecting an open space in your yard or garden, regardless of size. A rectangular area measuring 1.5 meters by 5 meters served as my canvas. For added flair, consider creating a garden around a tree, next to the house, or in a unique shape. Ensure there’s ample space for all your painted rock flowers.
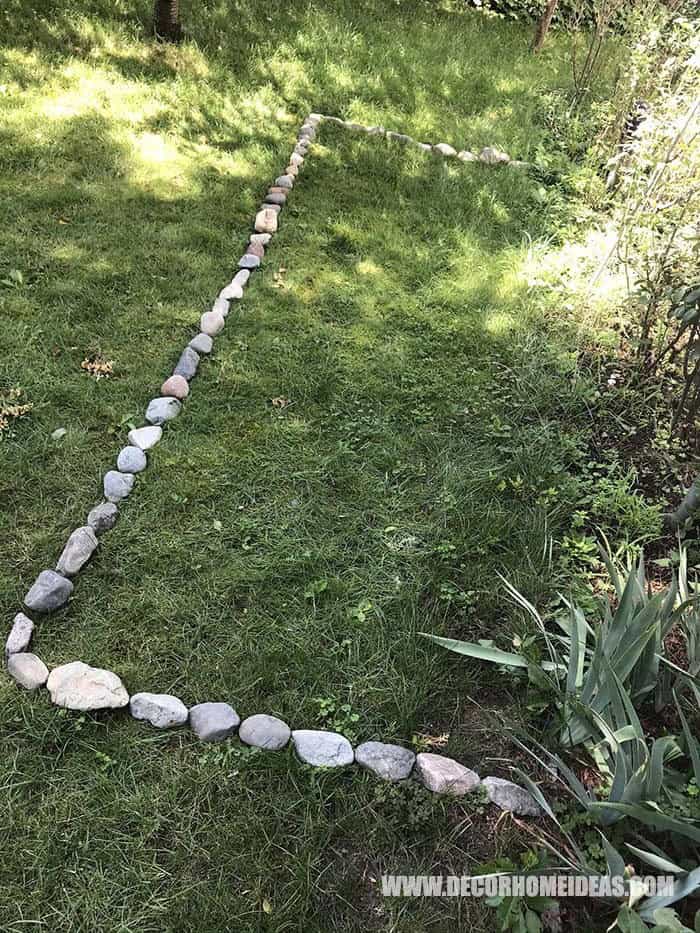
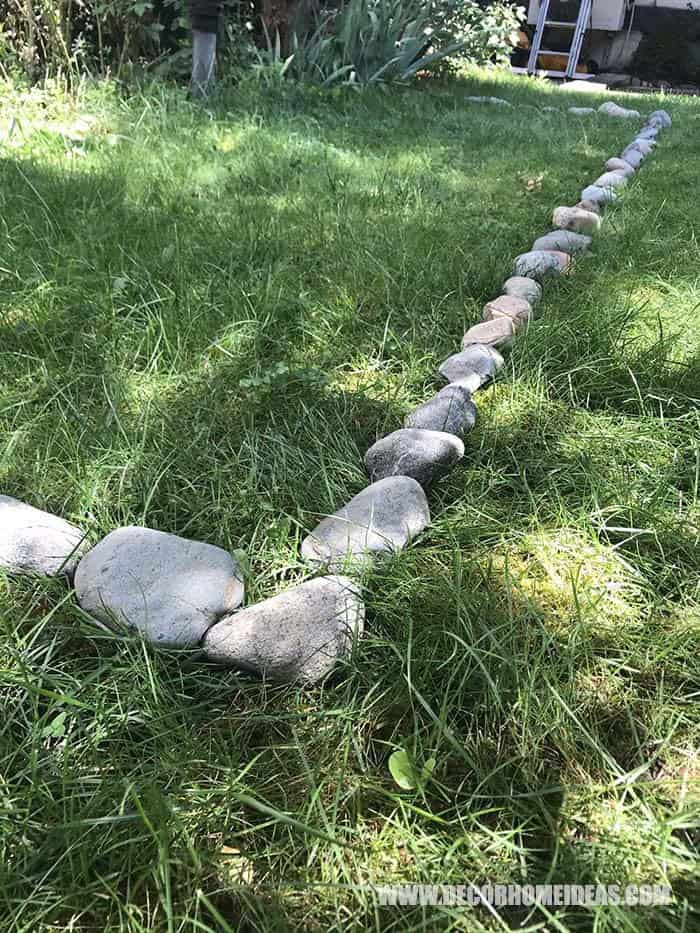
Create a border around your chosen plot using the rocks you’ve already collected. This simple yet effective boundary defines the space, imparting a clean and crisp aesthetic. If you’re planning a unique shape, the rock border will make it truly pop. As you can see from my example below, I opted for a rectangular shape. To create the corners, I employed triangular rocks. Once your garden bed edging is complete, the fun really begins! It’s time to arrange your painted rocks into flowers.
Start by placing your center stone and arranging the petals around it. Continue with the rest of your creations, focusing on creating an attractive layout without worrying too much about precise positioning at this point – it’s easier to make small adjustments once all your flowers are in place. Keep refining your layout until it matches your vision. I didn’t follow a specific pattern; instead, I simply moved my rock flowers around until I was satisfied with the result.
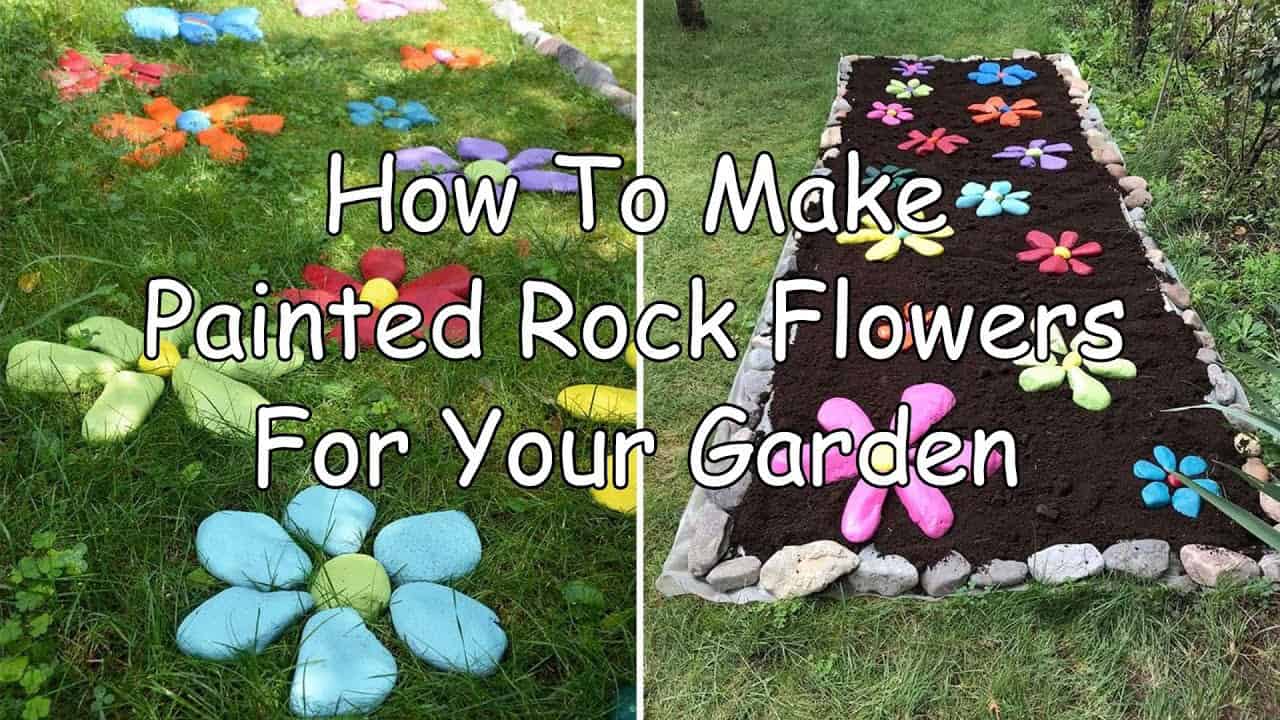
The more flowers you paint, the more vibrant and colorful your garden will be. Does your garden appear sparse? Consider reducing the size of the border or painting a few more rocks to add extra flowers. Here’s how my finished garden looks after all adjustments were made. For this version, I placed the rocks directly on the grass. It’s truly beautiful from every angle!
Option 2: Preparing the Ground for a Painted Rock Flower Garden on Dirt, Mulch, or Pebbles
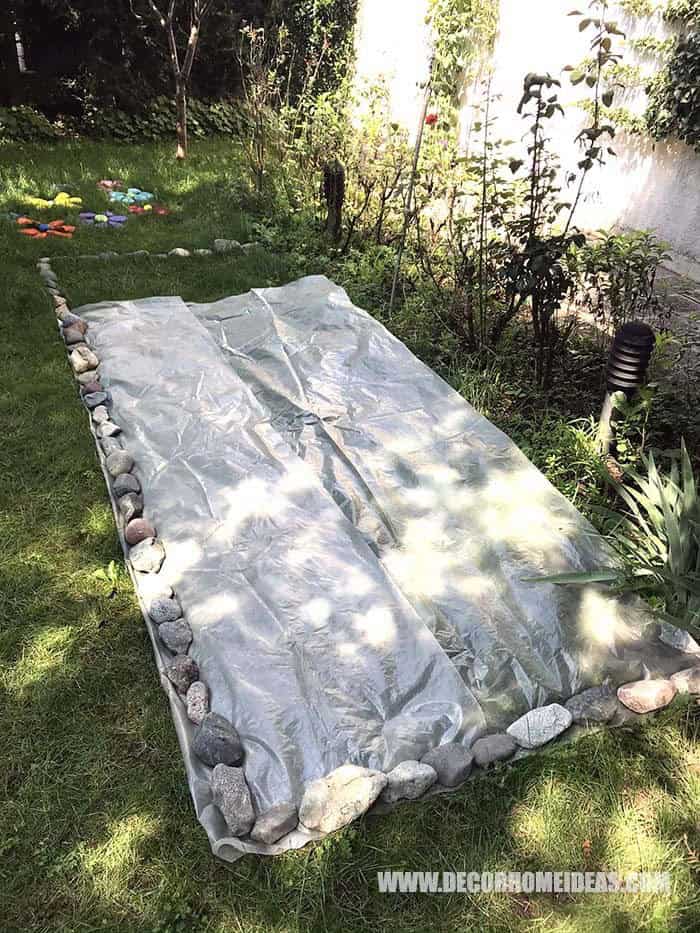

Once you’ve selected a spot for your garden, prepare the ground by laying down a barrier against weeds and grass. You can use a sheet of plastic or nylon, or opt for a mesh that prevents unwanted growth from infiltrating your designated gardening area. After securing the barrier, create a border around the edges using rocks. This foundation will provide a solid base for the soil, fertilizer, mulch, or pebbles you’ll be adding next.
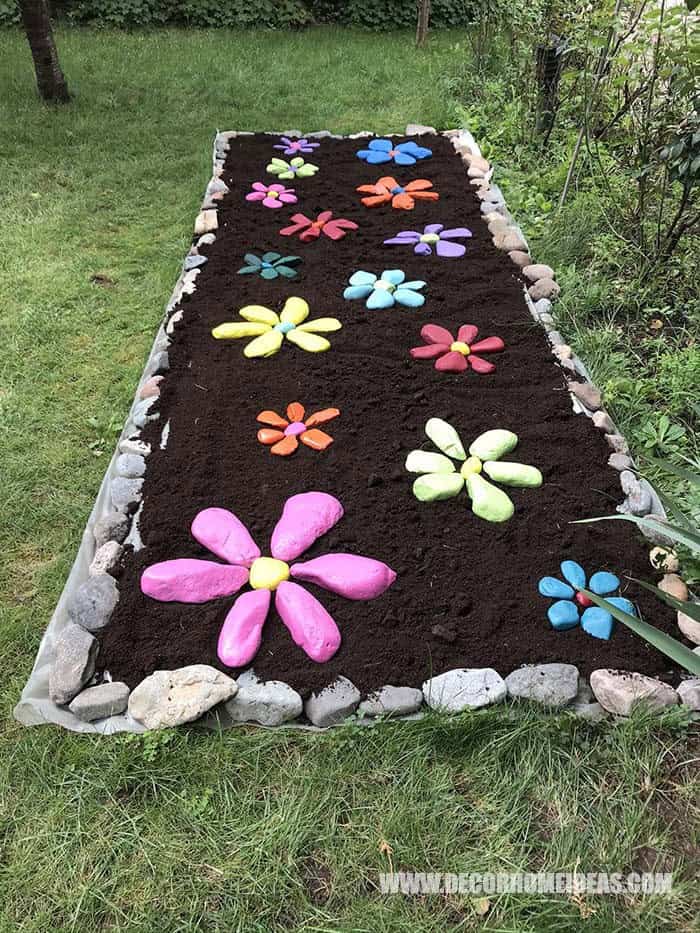
If you have wood chips on hand, these can also be used to cover the plastic sheet. In my case, I chose to use fertilizer to give my garden a nutrient-rich start. To ensure an even spread, disperse your chosen material uniformly across the entire bed. If the edges of the plastic are still visible, simply adjust the rock border outward by an inch or two – the weight of the fertilizer will keep everything in place.
With your bed now ready, it’s time to arrange your flowers and watch them bloom against the dark soil backdrop. Both options – a uniform bed of soil or a colorful arrangement of painted rocks around the edge of your home – are visually appealing, ultimately coming down to personal preference.